Adjust the appearance of 2D nodes
Use color, texture, and material brushes to adjust the appearance of 2D nodes.
Adjusting the appearance of 2D nodes with a solid color
Use a Color Brush to fill 2D content with a solid color.
To adjust the appearance of 2D nodes with a solid color:
- In the Project window select or create the 2D node the appearance of which you want to adjust.
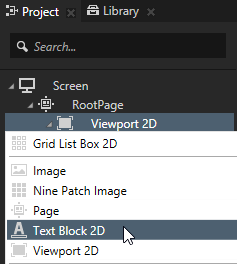
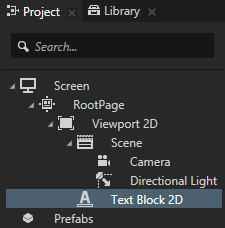
For example, in the Project window press Alt and right-click the Viewport 2D node and create a Text Block 2D node.
- In the Properties window in the bottom right corner click
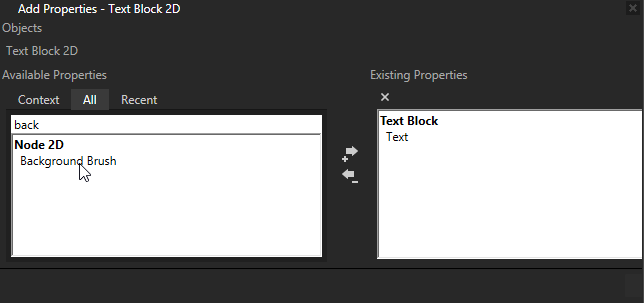
 . In the left column of the Add Properties window double-click the Background Brush property to add it to the node you selected in the Project.
To quickly find a property, type the first few letters of a property name in the search box of the Add Properties window.
You adjust the look and behavior of nodes in your project with properties. See Property system.
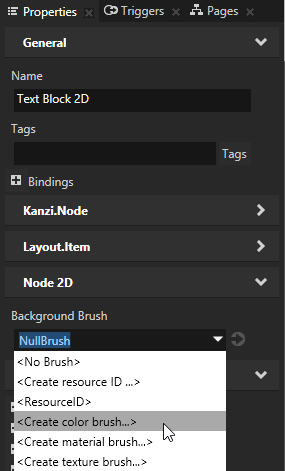
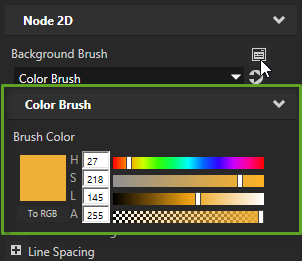
- In the Properties window open the Background Brush property drop-down menu and select <Create color brush...>.
- In the Properties next to the Background Brush property click
 and set the color of the color brush you created in the previous step.
In the Properties click  next to a property to access and edit the resource to which the property points without moving away from the currently selected node.
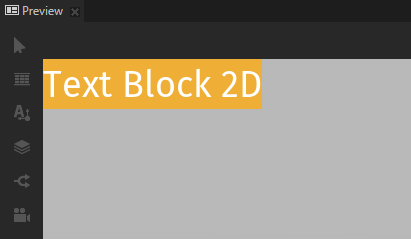
In the Preview window you can see that the Color Brush you created paints the background of the node for which you set the Background Brush property.
Adjusting the appearance of 2D nodes with a texture
Use a Texture Brush to fill a 2D area with a texture.
To adjust the appearance of 2D nodes with a texture:
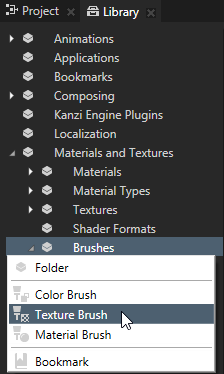
- In the Library window press Alt and right-click Materials and Textures > Brushes and select Texture Brush.
The Library window shows all resources, such as animations, materials, textures, brushes, and fonts. Here you can create, import, and edit resources in your project.
- In the Project select the 2D node the appearance of which you want to adjust, in the Properties click
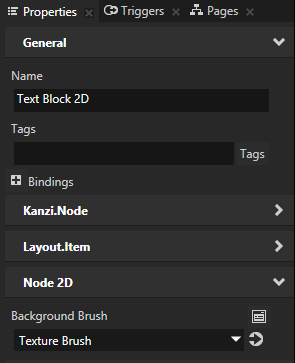
 , add the Background Brush property, and select the brush you created in the first step.
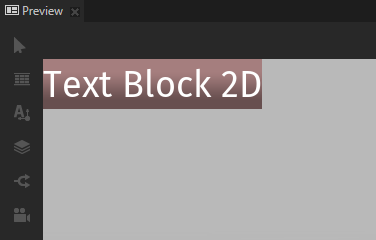
For example, create a Text Block 2D node, in the Properties add the Background Brush property and set it to the brush you created in the first step.

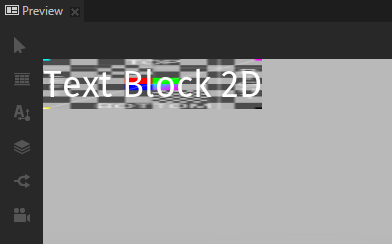
- In the Properties window click
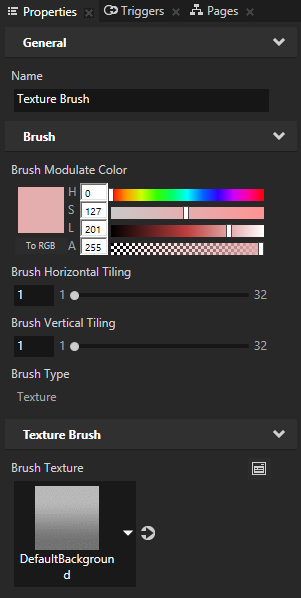
 next to the Background Brush property to go the brush used by that property, set the texture you want this texture brush to use, and adjust how the Texture Brush uses that texture:
- Brush Texture sets the texture for the brush.
- Brush Modulate Color sets the modulation color for the brush.
- Brush Horizontal Tiling affects the scale of the texture coordinates to set the horizontal tiling of the texture.
- Brush Vertical Tiling affects the scale of the texture coordinates to set the vertical tiling of the texture.
Learn about using brushes >
Learn about properties >
< Use the right node for the job
Adjust the appearance of 3D nodes >

Open topic with navigation


 . In the left column of the Add Properties window double-click the Background Brush property to add it to the node you selected in the Project.

 and set the color of the color brush you created in the previous step.
 next to a property to access and edit the resource to which the property points without moving away from the currently selected node.


 next to the

